Love this? Save it for later!
Share the inspiration with your friends
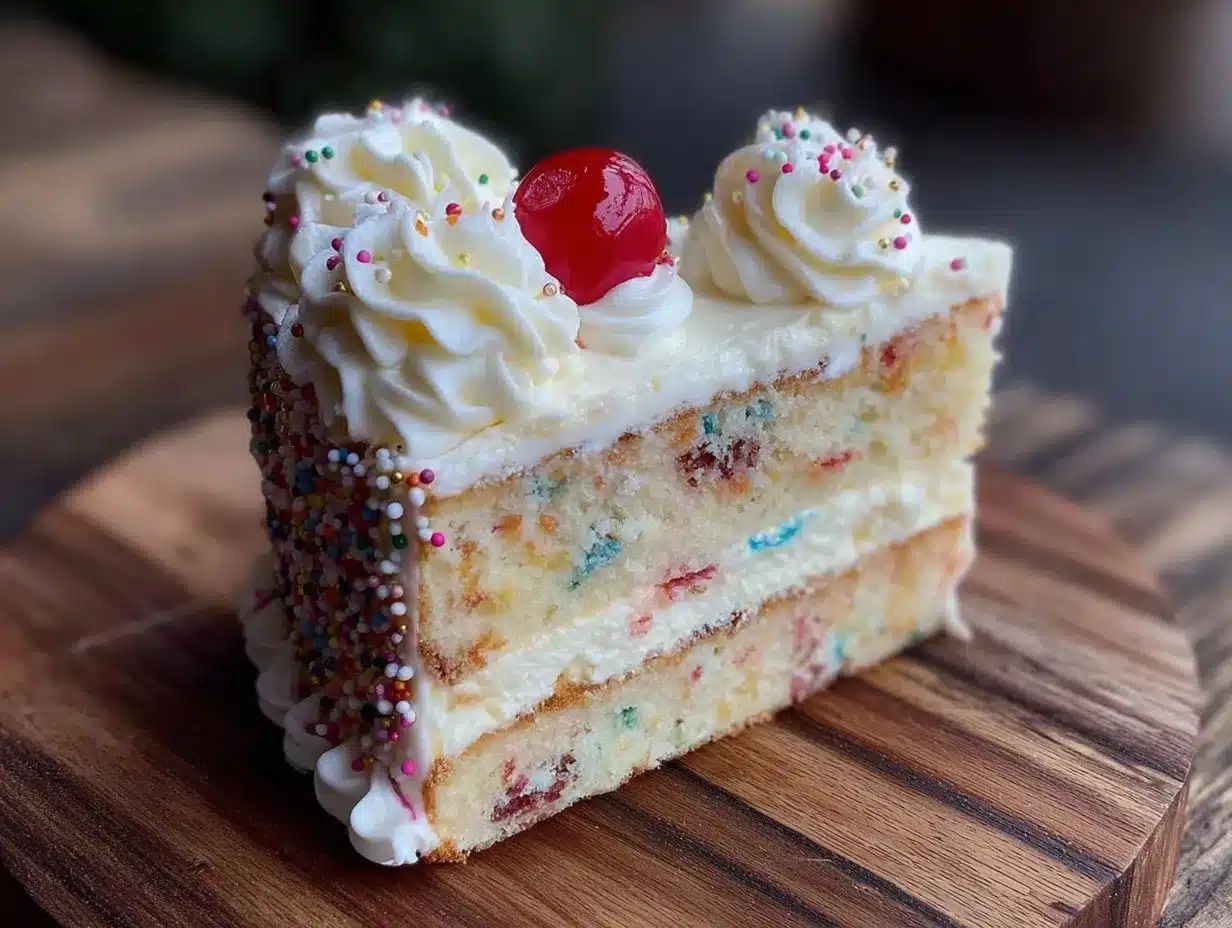
This was supposed to be a simple vanilla layer cake. I had the butter out, the eggs were at room temperature, and I was ready to make a perfectly respectable, elegant, white cake for a friend’s small birthday dinner. Then I reached into the back of my pantry for the vanilla extract, and my hand closed around a dusty, half-empty bottle of rainbow sprinkles from a baking project six months prior. In a moment of pure, distracted impulse—honestly, I was already thinking about what time to start the frosting—I dumped the entire bottle into the batter. My first thought was pure panic. I had just ruined a perfectly good cake with a cup of sugary, artificial color. The batter looked like a clown had fallen into it. I almost scraped the whole thing into the trash. But I was out of time, so I poured the speckled mess into the pans and slid them into the oven, fully expecting a disaster. What came out was nothing like the plan—and better. The slices were a riot of color, a confetti explosion that made everyone at the table smile before they even took a bite. That first, crunchy, sugary bite of the crumb had this unexpected, nostalgic joy. It tasted like every birthday party I had ever been to as a kid. Maybe you’ve been there, standing over a mixing bowl, convinced you’ve just made a terrible mistake. Let me tell you, sometimes the best recipes come from a moment of happy chaos. This is that recipe, and honestly, I’ve never made a plain vanilla cake since.
Why You’ll Love This Recipe
Let’s be real for a second. A lot of funfetti cakes are dry, crumbly, or taste like nothing but sugar. This one is different. It’s the result of about seven test batches—some were too dense, one was a total sponge, and a couple were just sad. I finally cracked the code for a cake that is unbelievably moist, has a tight, tender crumb, and holds its color without turning into a grey, muddy mess. This isn’t just another version; it’s my best version, perfected in my own kitchen.
- Incredibly Moist & Tender: The secret is a combination of buttermilk and a touch of vegetable oil. It keeps the cake soft for days, not just hours.
- Perfectly Balanced Sweetness: It’s sweet enough to feel like a treat, but not cloying. The tangy cream cheese frosting cuts through the sugar beautifully.
- Bold, Happy Color: No grey sprinkles here! The technique for folding them in ensures they stay bright and vibrant throughout the cake.
- Crowd-Pleasing Classic: This is the cake that disappears at parties. Kids love the color, adults love the flavor. It’s a true crowd-pleaser.
- Simple, Trusted Ingredients: You likely have most of these in your pantry right now. No weird extracts or hard-to-find flours.
This recipe is the kind that makes you close your eyes after the first bite. It’s comfort food reimagined—faster than a bakery run, but with the same soul-soothing satisfaction of a homemade birthday. Perfect for turning a regular Tuesday into a celebration, or impressing a crowd without breaking a sweat.
What Ingredients You Will Need
This recipe uses simple, wholesome ingredients to deliver a bold flavor and a satisfyingly tender texture without any fuss. Most of these are pantry staples, which makes this cake perfect for a last-minute celebration.
For the Cake
- All-purpose flour, 2 ½ cups (315g): Spoon and level it into your measuring cup for the best results. Scooping directly can pack the flour and make the cake dry.
- Granulated sugar, 1 ¾ cups (350g): This provides the structure and sweetness. I don’t recommend reducing it, as it affects the texture.
- Baking powder, 2 ½ teaspoons: Make sure it’s fresh! This is what gives the cake its lift.
- Baking soda, ½ teaspoon: Helps with browning and tenderness.
- Salt, 1 teaspoon: Balances the sweetness and enhances the flavor.
- Unsalted butter, ½ cup (1 stick, 113g), softened: Use real butter for the best flavor. Let it sit out for at least 30 minutes to soften properly.
- Vegetable oil, ¼ cup (60ml): This is my secret weapon for moisture. It keeps the cake soft even when refrigerated.
- Large eggs, 3, at room temperature: Room temperature eggs emulsify better, creating a smoother batter. Place them in a bowl of warm water for 5 minutes if you’re in a hurry.
- Buttermilk, 1 cup (240ml), at room temperature: The acid in buttermilk tenderizes the gluten, resulting in a super soft crumb. No buttermilk? Add 1 tablespoon of lemon juice or white vinegar to a cup of whole milk and let it sit for 5 minutes.
- Vanilla extract, 2 teaspoons: Use pure vanilla extract if you can. It makes a big difference.
- Rainbow jimmies sprinkles, ½ cup (80g): This is crucial. Do NOT use nonpareils (the tiny round balls) or sanding sugar. They will bleed their color into the batter and turn it grey. Jimmies (the long, rod-shaped sprinkles) hold their shape and color best.
For the Cream Cheese Frosting
- Cream cheese, 8 oz (226g), softened: Use full-fat, block-style cream cheese for the best structure. Do not use the spreadable kind in a tub; it’s too soft.
- Unsalted butter, ½ cup (1 stick, 113g), softened: Adds richness and stability to the frosting.
- Powdered sugar, 4 cups (480g), sifted: Sifting removes lumps and makes the frosting silky smooth.
- Vanilla extract, 1 teaspoon: For flavor.
- Pinch of salt: Balances the sweetness.
- Heavy cream or milk, 2-3 tablespoons: To adjust the consistency of the frosting.
Equipment Needed
You don’t need a fancy bakery setup to make this cake. Here’s what you’ll need to pull it off:
- Two 9-inch round cake pans: I prefer light-colored aluminum pans. Dark pans can cause the edges to brown too quickly.
- Electric hand mixer or stand mixer: A stand mixer makes creaming the butter and sugar a breeze, but a hand mixer works perfectly fine. You’ll get a better arm workout!
- Mixing bowls: You’ll need at least two large ones.
- Whisk and rubber spatula: For combining dry ingredients and folding in the sprinkles gently.
- Parchment paper: Cut circles to line the bottom of your cake pans for guaranteed release. Trust me, it’s worth the extra minute.
- Cooling rack: Essential for letting the cakes cool completely before frosting.
- Offset spatula or butter knife: For spreading the frosting. An offset spatula is a game-changer for getting smooth sides, but a butter knife works in a pinch.
- Turntable (optional but helpful): Makes frosting the cake much easier and more professional-looking.
Preparation Method
Alright, let’s get to the fun part. The key to this cake is patience—especially with the cooling and frosting steps. Don’t rush it!
- Preheat and Prep (10 minutes): Preheat your oven to 350°F (175°C). Grease two 9-inch round cake pans with butter or non-stick spray. Cut two circles of parchment paper to fit the bottom of the pans, place them in, and grease the parchment too. This is my no-fail method for perfect cake release.
- Whisk Dry Ingredients (5 minutes): In a medium bowl, whisk together the 2 ½ cups all-purpose flour, 2 ½ teaspoons baking powder, ½ teaspoon baking soda, and 1 teaspoon salt. Set this aside.
- Cream Butter and Sugar (5-7 minutes): In a large bowl, beat the ½ cup softened unsalted butter with the 1 ¾ cups granulated sugar using your electric mixer on medium speed. Beat until the mixture is light, fluffy, and pale in color—about 5 minutes. It should look like a thick paste. This step is crucial for incorporating air into the batter.
- Add Wet Ingredients (2-3 minutes): Add the ¼ cup vegetable oil and the 3 room-temperature eggs, one at a time, beating well after each addition. Scrape down the sides of the bowl with your spatula. Add the 2 teaspoons vanilla extract and mix until combined. The mixture might look a little curdled at this point—that’s totally normal, don’t panic!
- Alternate Dry and Wet (3 minutes): With the mixer on low speed, add about one-third of the dry flour mixture to the butter mixture. Mix until just combined. Pour in half of the 1 cup of buttermilk and mix again. Repeat with another third of the flour, then the remaining buttermilk, and finally the last of the flour. Mix until just combined after each addition. Overmixing at this stage will develop the gluten and make your cake tough.
- Fold in the Sprinkles (1 minute): This is the most important step! Remove the bowl from the mixer. Using a rubber spatula, gently fold the ½ cup of rainbow jimmies into the batter. Do not overmix! Fold just until the sprinkles are evenly distributed. Over-mixing will cause the sprinkles to bleed their color and turn your batter grey.
- Bake the Cakes (25-30 minutes): Divide the batter evenly between the two prepared cake pans. Bake for 25-30 minutes, or until a toothpick inserted into the center comes out clean with just a few moist crumbs. The tops should be golden and spring back when lightly touched. Let the cakes cool in the pans for 10 minutes.
- Cool Completely (1-2 hours): Run a knife around the edges of the pans to loosen the cakes. Invert them onto a cooling rack and peel off the parchment paper. Let them cool completely on the rack. This is non-negotiable. If you try to frost a warm cake, the frosting will melt and slide right off.
- Make the Frosting (10 minutes): While the cakes cool, make the frosting. In a large bowl, beat the 8 oz softened cream cheese and ½ cup softened unsalted butter together until smooth and creamy. Gradually add the 4 cups sifted powdered sugar, one cup at a time, beating on low speed. Add the 1 teaspoon vanilla extract and a pinch of salt. Beat in 2-3 tablespoons of heavy cream or milk until the frosting is light, fluffy, and spreadable.
- Assemble and Frost (20 minutes): Place one cooled cake layer on your serving plate or turntable. Spread a generous layer of frosting on top. Place the second cake layer on top. Apply a thin “crumb coat” of frosting all over the cake—a thin layer that traps any loose crumbs. Refrigerate for 15 minutes to set the crumb coat. Then, apply the final, thick layer of frosting. Top with extra sprinkles if you like!
Cooking Tips & Techniques
I’ve made this cake more times than I can count, and I’ve learned a few things the hard way so you don’t have to. Here are my best tips for success.
- The Sprinkle Situation: I cannot stress this enough: use jimmies. I once used nonpareils in a hurry, and the cake looked like a sad, grey monster. The little balls just melt and bleed. Jimmies are your friends.
- Room Temperature is Real: I know it’s annoying, but letting your butter, eggs, and buttermilk come to room temperature makes a huge difference. A cold batter won’t emulsify properly, leading to a dense, greasy cake. Plan ahead and take them out an hour before you start.
- Don’t Overmix the Batter: Once you add the flour, you’re just trying to combine everything. Overmixing develops gluten, which makes the cake tough and rubbery. Mix until the flour streaks disappear, then stop. Your spatula is your best tool here.
- The Toothpick Test: Don’t just rely on the time. Every oven is different. Start checking your cakes at the 25-minute mark. A toothpick inserted into the center should come out clean or with a few moist crumbs, not wet batter.
- Crumb Coat is Your Safety Net: I used to skip this step because I was impatient. The result was always a cake with little brown bits of crumb peeking through the white frosting. The crumb coat is a 15-minute investment that guarantees a bakery-perfect finish.
Variations & Adaptations
This recipe is a fantastic base, and it’s super easy to adapt. Here are a few of my favorite twists.
- Chocolate Funfetti Cake: Swap out ½ cup of the all-purpose flour for ½ cup of unsweetened cocoa powder. The chocolate flavor is a great contrast to the bright sprinkles. I tried this for a friend’s birthday, and it was a huge hit.
- Lemon Funfetti Cake: Add the zest of two lemons to the sugar and rub it in with your fingers before creaming with the butter. Then, replace the vanilla extract with 1 tablespoon of fresh lemon juice. The lemon brightens the whole cake and makes it feel extra springy.
- Cupcakes: This batter makes about 24 standard cupcakes. Bake them at 350°F (175°C) for 18-22 minutes. The frosting recipe is plenty for a generous swirl on top.
- Gluten-Free Version: Use a good quality 1:1 gluten-free baking flour blend that contains xanthan gum. I’ve had great results with Bob’s Red Mill Gluten-Free 1-to-1 Baking Flour. Do not use almond flour or coconut flour, as the texture will be completely different.
- Dairy-Free Version: Substitute the butter with a high-quality vegan butter stick (like Miyoko’s or Earth Balance), and use a dairy-free buttermilk (add 1 tablespoon of lemon juice to 1 cup of oat or soy milk). Use a dairy-free cream cheese for the frosting.
Serving & Storage Suggestions
This cake is best served at room temperature, which allows the flavors to fully bloom and the texture to be perfectly soft.
- Serving: Let the cake sit out for about 30 minutes before slicing and serving. Use a sharp, thin-bladed knife, and wipe it clean between slices for the neatest cuts. It’s perfect on its own, but a scoop of vanilla ice cream or a dollop of whipped cream takes it over the top.
- Storage: Because of the cream cheese frosting, this cake must be stored in the refrigerator. Place it in an airtight cake carrier or wrap it loosely in plastic wrap. It will stay fresh for up to 5 days.
- Freezing: This cake freezes beautifully! You can freeze the unfrosted cake layers, wrapped tightly in plastic wrap and then foil, for up to 3 months. Thaw them overnight in the refrigerator before frosting. You can also freeze the fully frosted cake (without sprinkles on top) for up to a month. Thaw it in the fridge overnight and add the sprinkles just before serving.
- Reheating: For a “fresh from the oven” feel, you can microwave a single slice for about 10-15 seconds. It warms the cake without melting the frosting too much. The flavor actually gets even better on the second day!
Nutritional Information & Benefits
Let’s be honest: this is a celebratory cake, not a health food. But knowing what’s in it can help you enjoy it mindfully. The values below are estimates for one slice of cake (1/12th of the recipe) with frosting.
| Nutrient | Approximate Value |
|---|---|
| Calories | 480-550 |
| Fat | 25-30g |
| Saturated Fat | 15-18g |
| Carbohydrates | 65-75g |
| Sugar | 50-60g |
| Protein | 5-7g |
From a wellness perspective, this cake is about joy and connection. The buttermilk provides a small amount of calcium and probiotics, while the eggs offer a good source of protein. The real benefit, though, is the happiness it brings to a celebration. I believe in enjoying treats like this in moderation as part of a balanced life. It’s not an everyday food, but for a birthday or a special occasion, it’s absolutely worth it.
Conclusion
So there you have it—the story of how a distracted moment and a dusty bottle of sprinkles led to my absolute favorite birthday cake recipe. This cake is more than just a dessert; it’s a little piece of pure, unadulterated joy. It’s the cake that makes people smile, that brings back memories of childhood parties, and that turns any ordinary day into a celebration. I really hope you give it a try. Don’t be afraid to make it your own—add extra sprinkles, try the lemon version, or just make it exactly as written. I promise, it’s worth every single bite. I’d love to hear how it turns out for you! Leave a comment below and tell me about your own happy accident in the kitchen, or share a photo of your cake with me. Happy baking, friends!
Frequently Asked Questions
Can I use a different type of sprinkles?
I strongly recommend using rainbow jimmies (the long, rod-shaped sprinkles). Nonpareils (the tiny balls) and sanding sugar tend to bleed their color into the batter, turning it an unappetizing grey. Jimmies hold their shape and color best during baking.
My cake layers came out domed. What do I do?
A slight dome is normal. If you want perfectly flat layers for stacking, you can use a serrated knife to level the tops after they have cooled completely. Just slice off the rounded top to make it flat. You can eat the scraps as a baker’s treat!
Can I make this cake ahead of time?
Absolutely! You can bake the cake layers up to 2 days in advance. Wrap them tightly in plastic wrap and store them at room temperature. You can also freeze the unfrosted layers for up to 3 months. The frosting can be made up to 3 days ahead and stored in the refrigerator. Let it soften at room temperature for 30 minutes before using.
Why did my cream cheese frosting turn out runny?
This usually happens if the cream cheese or butter is too soft, or if you used spreadable cream cheese from a tub. Make sure you are using block-style cream cheese and that it is just softened, not melted. If your frosting is too thin, you can try chilling it in the refrigerator for 15-20 minutes to firm it up.
Can I use this recipe to make a sheet cake?
Yes, you can! Pour the batter into a greased and floured 9×13-inch baking pan. Bake at 350°F (175°C) for 30-35 minutes, or until a toothpick inserted into the center comes out clean. You may not need all of the frosting, so just use what you need to cover the top.
Pin This Recipe!
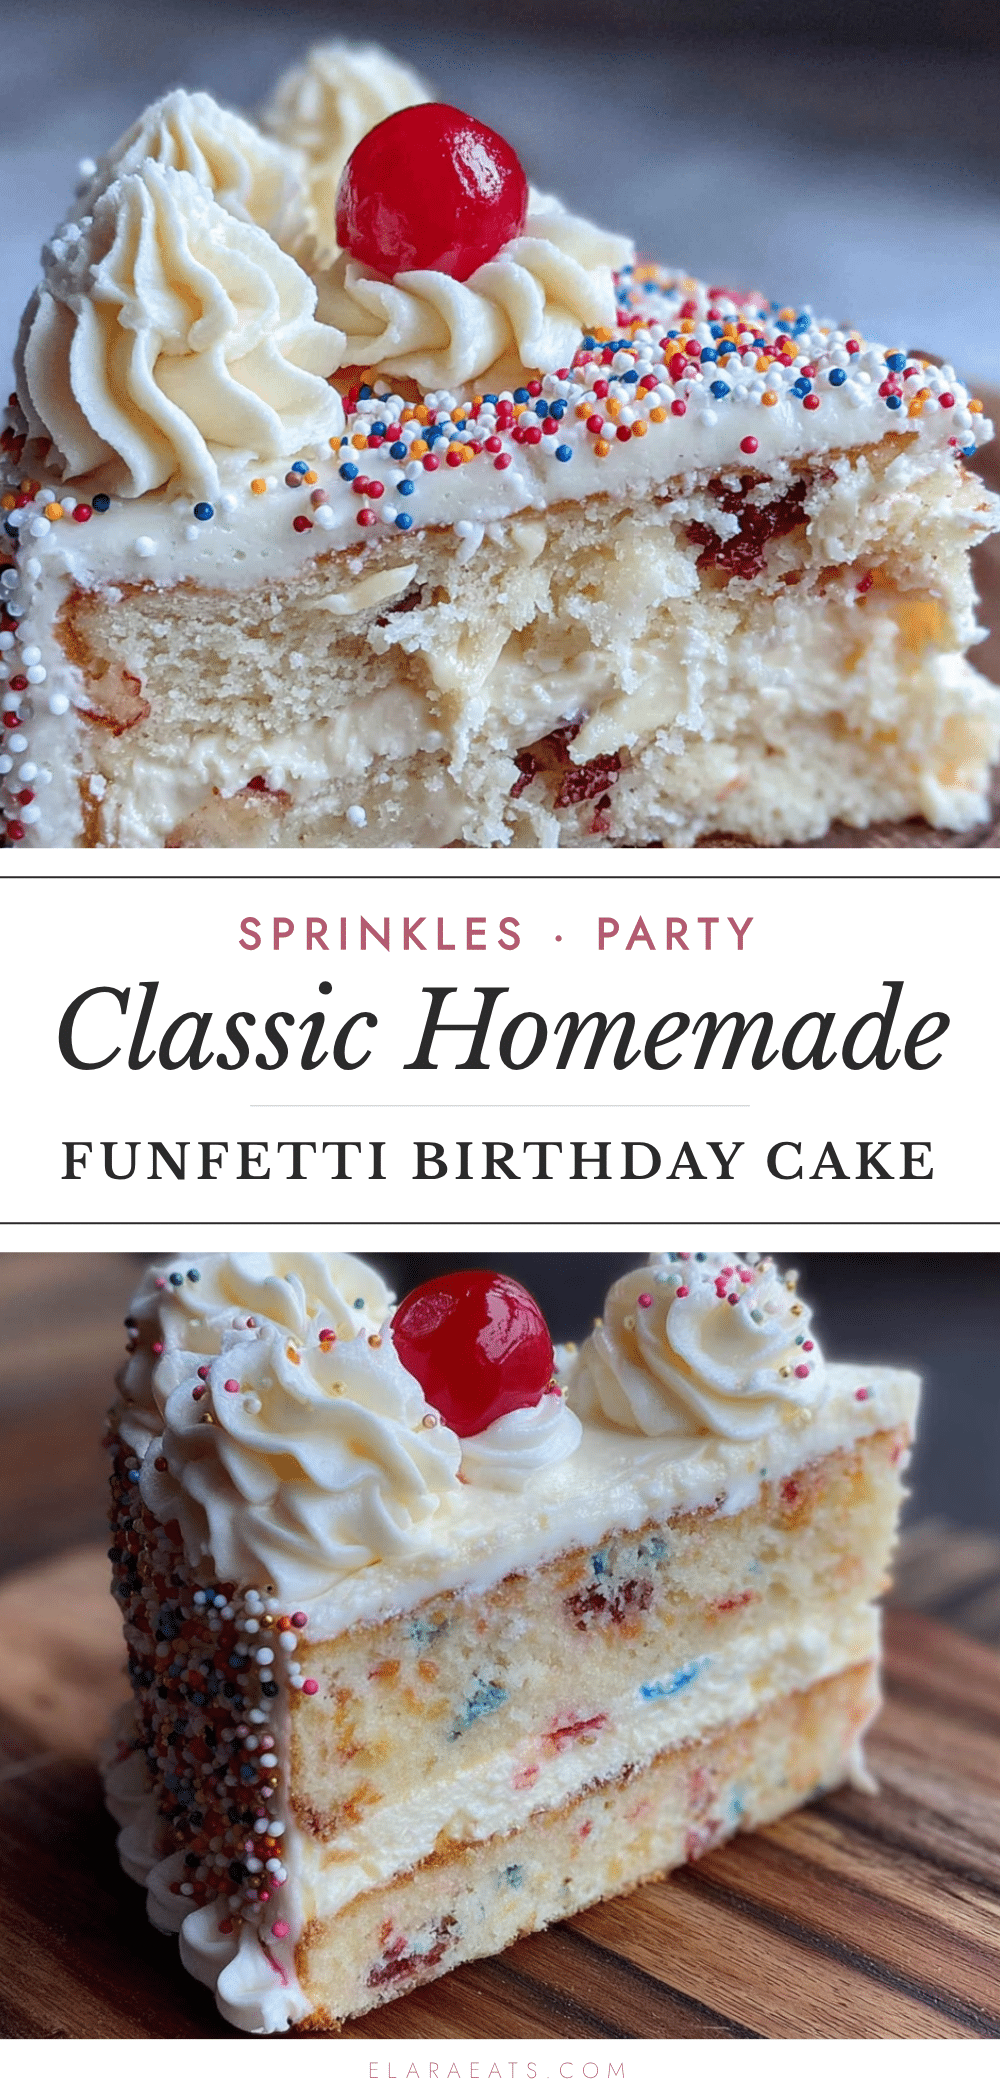
Classic Funfetti Birthday Cake: Easy Homemade Recipe
This incredibly moist and tender funfetti cake is made with buttermilk and a touch of vegetable oil, ensuring a soft crumb and vibrant sprinkles. Topped with a tangy cream cheese frosting, it’s the perfect celebration cake that brings nostalgic joy.
- Prep Time: 30 minutes
- Cook Time: 30 minutes
- Total Time: 2 hours 30 minutes
- Yield: 12 servings 1x
- Category: Dessert
- Cuisine: American
Ingredients
- 2 ½ cups (315g) all-purpose flour
- 1 ¾ cups (350g) granulated sugar
- 2 ½ teaspoons baking powder
- ½ teaspoon baking soda
- 1 teaspoon salt
- ½ cup (1 stick, 113g) unsalted butter, softened
- ¼ cup (60ml) vegetable oil
- 3 large eggs, at room temperature
- 1 cup (240ml) buttermilk, at room temperature
- 2 teaspoons vanilla extract
- ½ cup (80g) rainbow jimmies sprinkles
- 8 oz (226g) cream cheese, softened
- ½ cup (1 stick, 113g) unsalted butter, softened
- 4 cups (480g) powdered sugar, sifted
- 1 teaspoon vanilla extract
- Pinch of salt
- 2–3 tablespoons heavy cream or milk
Instructions
- Preheat oven to 350°F (175°C). Grease two 9-inch round cake pans and line bottoms with parchment paper; grease parchment.
- In a medium bowl, whisk together flour, baking powder, baking soda, and salt.
- In a large bowl, beat butter and sugar with an electric mixer on medium speed until light and fluffy, about 5 minutes.
- Add oil and eggs one at a time, beating well after each addition. Mix in vanilla extract.
- With mixer on low, add dry ingredients in three additions, alternating with buttermilk, beginning and ending with dry ingredients. Mix until just combined.
- Remove bowl from mixer. Gently fold in rainbow jimmies with a rubber spatula until evenly distributed.
- Divide batter evenly between prepared pans. Bake for 25-30 minutes, until a toothpick inserted in center comes out clean.
- Cool cakes in pans for 10 minutes, then invert onto a cooling rack. Remove parchment and cool completely.
- For frosting: Beat cream cheese and butter until smooth. Gradually add powdered sugar, then vanilla and salt. Beat in heavy cream until fluffy.
- Place one cake layer on serving plate. Spread frosting on top. Add second layer. Apply a thin crumb coat, refrigerate 15 minutes, then frost with remaining frosting. Top with extra sprinkles if desired.
Notes
Use rainbow jimmies (rod-shaped sprinkles) to prevent color bleeding. Ensure all ingredients are at room temperature for best results. Do not overmix batter after adding flour. A crumb coat helps achieve a professional finish.
Nutrition
- Serving Size: 1 slice (1/12 of cak
- Calories: 515
- Sugar: 55
- Sodium: 380
- Fat: 28
- Saturated Fat: 16
- Carbohydrates: 70
- Fiber: 1
- Protein: 6
Keywords: funfetti cake, birthday cake, homemade cake, sprinkle cake, cream cheese frosting, easy cake recipe


