Love this? Save it for later!
Share the inspiration with your friends
I was supposed to be making a proper pumpkin pie from scratch. The kind with the fancy lattice crust and the homemade caramel drizzle that takes three hours and a lot of patience I apparently don’t have on a Tuesday night. I had the flour sifted, the butter cubed, and my favorite rolling pin ready to go. Then the power flickered. Just once, but it was enough to remind me that our old oven has a mind of its own when the voltage drops. It clicked off and refused to come back on for a solid twenty minutes. I stood there, covered in flour, staring at the dark oven display, and realized I had a kitchen full of ingredients and no way to bake anything. My kids were already hyped up on Halloween candy from the neighbor’s early party, and I needed something—anything—that didn’t require heat. That’s when I spotted the package of Oreos in the pantry and the pudding mix I bought for a different dessert entirely. Honestly, the graveyard dirt cups that came out of that moment of panic are now the only Halloween dessert my family requests. You know that feeling when a total kitchen failure turns into your most requested recipe? That’s this story.
I grabbed the wrong chocolate pudding—instant instead of cook-and-serve—and I was already running late for the school costume parade the next morning. The kids were bouncing off the walls, the dog had stolen a sock, and I was this close to ordering pizza and calling it a night. But something about the way those crushed Oreos looked like actual dirt made me stop. I layered them in clear plastic cups with the pudding, and on a whim, I stuck a few gummy worms in there. My daughter walked in, saw it, and screamed with joy. Not the polite kind of joy, either. The kind where she actually jumped up and down. That night, we made a whole assembly line of these things, and by the time Halloween arrived, I had neighbors asking for the recipe. What came out was nothing like the plan—and better. So much better. I keep making them because they’re the kind of dessert that makes everyone smile, no fancy equipment required, and they honestly taste like childhood in a cup.
Why You’ll Love This Recipe
Let me tell you why these Easy Spooky Graveyard Dirt Cups are about to become your new Halloween tradition. I’ve tested this recipe about a dozen times now, tweaking the pudding consistency and the cookie crumb texture until it was just right. My neighbor, who runs a small bakery, even tried a batch and said the texture was spot-on. So you’re getting a recipe that’s been through the wringer and come out delicious on the other side.
- Quick & Easy: Comes together in under 20 minutes, no oven required. Perfect for those last-minute Halloween parties or when the kids suddenly announce they need treats for school tomorrow.
- Simple Ingredients: You likely have everything in your kitchen right now. Oreos, instant pudding, milk, and some creepy candy decorations. No fancy grocery trips needed.
- Perfect for Halloween: These dirt cups are the ultimate spooky treat for classroom parties, neighborhood gatherings, or just a fun family night in. They look impressive but take almost no effort.
- Crowd-Pleaser: Kids absolutely love them, and adults secretly do too. I’ve seen grown-ups go back for seconds at parties, pretending they’re just helping their kids finish them.
- Unbelievably Delicious: The creamy chocolate pudding paired with the crunchy Oreo “dirt” and the surprise of gummy worms creates a texture and flavor combo that’s pure comfort food magic.
What makes these dirt cups different from every other version out there? It’s the technique. I blend the pudding for an extra minute to get it silky smooth, and I crush the Oreos in a specific way so you get both fine “dirt” and tiny chunks that add texture. This isn’t just another Halloween dessert—it’s your best version. The kind that makes you close your eyes after the first bite and forget about the chaos of the holiday season for a moment. It’s comfort food reimagined for spooky season: faster, easier, but with the same soul-soothing satisfaction. Perfect for impressing guests without stress, or turning a simple Tuesday into something memorable.
What Ingredients You Will Need
This recipe uses simple, mostly pantry-staple ingredients to deliver that spooky, delicious look without any fuss. Here’s everything you’ll need to make these graveyard dirt cups come to life.
For the Pudding Base
- 1 (3.9 oz) box instant chocolate pudding mix (I prefer Jell-O brand for the smoothest texture, but any brand works fine)
- 2 cups cold whole milk (for the creamiest result; 2% works too, but avoid skim milk as it makes the pudding watery)
- 1/2 teaspoon vanilla extract (optional, but it adds a lovely depth of flavor that takes the pudding from good to great)
For the “Dirt” Layer
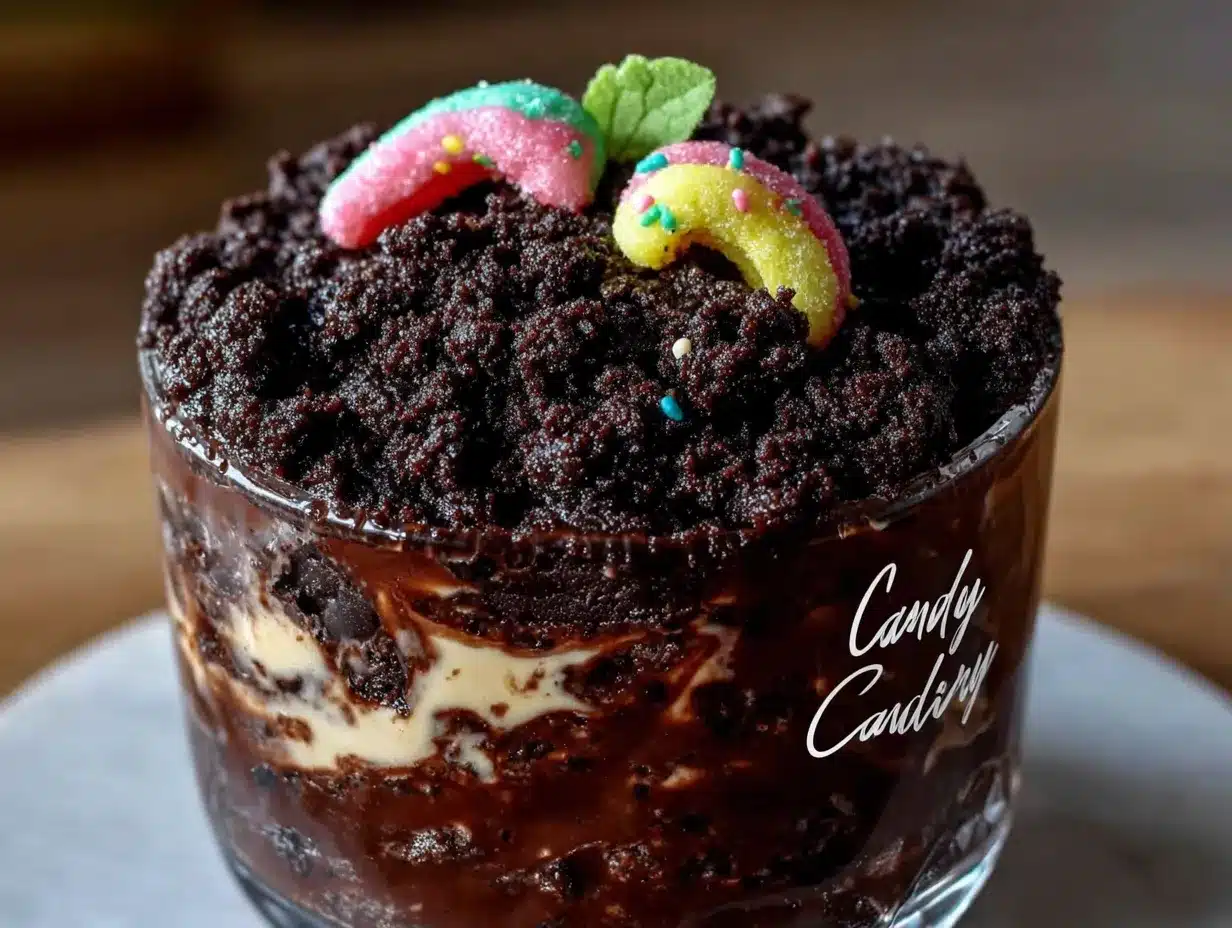
- 1 (14.3 oz) package Oreo cookies (regular or Double Stuf both work; just avoid the thin ones as they don’t crush into the right texture)
- 2 tablespoons unsalted butter, melted (this helps the “dirt” clump slightly, giving it a more realistic soil texture)
For the Graveyard Decorations
- 1 cup gummy worms (I like the sour ones for extra flavor contrast, but regular works too)
- 12-15 Milano cookies or rectangular shortbread cookies (these become your tombstones; you can also use store-bought cookie tombstones if you find them)
- Black writing gel or black frosting (for writing “RIP” on the tombstones)
- 1/2 cup candy pumpkins or candy corn (optional, for a festive fall touch)
- Green or purple food coloring (optional, for tinting the whipped topping into a “spooky grass” layer)
For the Whipped Topping (Optional but Recommended)
- 1 (8 oz) container frozen whipped topping, thawed (like Cool Whip; this creates a fluffy layer between the pudding and dirt)
- Green food coloring (to turn the topping into spooky “grass”)
Ingredient Selection Tips: When choosing your Oreos, look for a package that’s not too crushed already. You want whole cookies so you can control the crumb size. For the pudding, instant is non-negotiable here—cook-and-serve won’t set properly in the fridge in time. I’ve learned that the hard way, and let me tell you, soupy dirt cups are not a good look. If you’re dairy-free, you can substitute the milk with oat milk or almond milk, but the pudding will be slightly less thick. Add an extra tablespoon of cornstarch mixed with a little cold milk to compensate.
Equipment Needed
You don’t need a professional kitchen to make these spooky treats. Here’s what you’ll need:
- 8-10 clear plastic cups or small glass jars (clear cups are essential for showing off the layers; I use 9-ounce plastic cups from the party supply store)
- Medium mixing bowl (for the pudding)
- Whisk or electric hand mixer (hand mixer makes the pudding extra smooth, but a whisk works fine if you have strong arms)
- Food processor or zip-top bag and rolling pin (for crushing Oreos; I’ve used both methods, and honestly, the bag-and-rolling-pin method is more satisfying and gives you better control over the texture)
- Measuring cups and spoons
- Spatula (for scraping every last bit of pudding into the cups)
- Small piping bag or zip-top bag (for writing on the tombstones)
Budget-Friendly Alternatives: If you don’t have a food processor, don’t worry. Place the Oreos in a large zip-top bag, seal it, and go to town with a rolling pin. My kids actually fight over who gets to do this step. It’s a great way to release some Halloween excitement. For the tombstones, you can use graham crackers in a pinch, though they get soggy faster than Milano cookies. And if you don’t have clear cups, any small bowl or mug will work—you just won’t see the pretty layers.
Preparation Method
Here’s how to make these spooky graveyard dirt cups, step by step. I’ve included all my little tricks so you get perfect results every time.
- Make the pudding. In a medium mixing bowl, combine the instant chocolate pudding mix with 2 cups cold whole milk. Whisk vigorously for 2 minutes, or use an electric hand mixer on low speed for 1 minute. The pudding will start to thicken almost immediately. Add the vanilla extract if using and whisk for another 30 seconds. Let the pudding sit for 5 minutes to fully set. It should be thick and creamy, like a soft custard. If it’s too thin, refrigerate it for 10 minutes before moving on.
- Crush the Oreos. While the pudding sets, prepare your “dirt.” If using a food processor, pulse the Oreos (cream filling included) in short bursts until you have a mix of fine crumbs and small chunks. You don’t want powder—you want texture. If using the bag method, place all the Oreos in a large zip-top bag, seal it tightly (leave a little air in the bag for cushion), and crush them with a rolling pin. Aim for a consistency that looks like real garden soil with a few pebbly bits. Transfer the crumbs to a medium bowl and drizzle the melted butter over them. Toss with a fork until the butter is evenly distributed. This step is optional but makes the “dirt” clump slightly, which looks more realistic.
- Prepare the tombstones. Take your Milano cookies or shortbread cookies and use the black writing gel to write “RIP” on each one. You can also write spooky messages like “Here Lies My Diet” or “I Ate Too Much Candy.” Let the writing dry for about 5 minutes while you assemble the cups. If you’re short on time, you can skip the writing entirely—the cookies still look like tombstones without it.
- Layer the cups. Spoon about 2 tablespoons of the crushed Oreo “dirt” into the bottom of each clear cup. Press it down gently with the back of a spoon to create a stable base. Next, spoon the chocolate pudding over the dirt layer, filling the cup about halfway. Use a spatula to spread it evenly. If you’re using the whipped topping, spoon a layer of green-tinted Cool Whip over the pudding now. (To tint it, fold in a few drops of green food coloring until you reach your desired shade of spooky grass.)
- Add the creepy details. Press a few gummy worms into the side of each cup so they’re visible through the clear plastic. They should look like they’re crawling out of the “dirt.” Sprinkle another layer of Oreo crumbs over the top, covering the pudding completely. This is your topsoil layer. Stick a tombstone cookie into the center of each cup, angled slightly as if it’s leaning in a real graveyard. Add a few candy pumpkins around the base for a fall touch.
- Chill and serve. Refrigerate the dirt cups for at least 30 minutes before serving. This allows the layers to set and the flavors to meld together. The cookies will soften slightly, which makes them easier to bite into. Serve cold, straight from the fridge. These are best enjoyed within 24 hours, as the cookies will continue to soften over time.
Sensory Cues: When you crush the Oreos, you should hear that satisfying crackle as the cookies break. The pudding should look glossy and smooth, with no lumps. When you press the gummy worms into the side of the cup, you’ll feel them settle into the pudding layer. And when you take that first bite, the contrast between the creamy pudding and the crunchy dirt is pure magic.
Cooking Tips & Techniques
I’ve made these dirt cups more times than I care to admit, and I’ve learned a few things along the way. Here are my best tips for perfect results every time.
Don’t overmix the pudding. I once used a hand mixer on high speed for three minutes because I was distracted by a phone call. The pudding turned into a thin, soupy mess that never set properly. Mix just until it thickens—about 2 minutes by hand or 1 minute with a mixer. Overmixing breaks down the starches and ruins the texture.
Crush Oreos in batches. If you’re using the food processor, don’t dump all the cookies in at once. Work in two or three batches. This gives you more control over the texture and prevents the bottom cookies from turning into dust while the top ones are still whole. I learned this after a particularly frustrating batch where half the crumbs were powder and the other half were chunks.
Let the pudding rest. I know you’re excited to assemble these, but letting the pudding sit for a full 5-7 minutes is crucial. It needs time to thicken properly. If you layer it too soon, the “dirt” will sink into the pudding and you’ll lose those beautiful distinct layers. Patience pays off here.
Use room temperature milk. Cold milk straight from the fridge works fine, but room temperature milk actually helps the pudding mix dissolve more evenly. I’ve tested both, and the room temperature version is noticeably smoother. Just let your milk sit on the counter for 10 minutes before starting.
Make extra “dirt.” Trust me on this one. You’ll want extra Oreo crumbs for topping, and kids love sneaking handfuls while you’re not looking. I always crush an extra 4-5 cookies beyond what the recipe calls for. It’s better to have too much than to run out mid-assembly.
Timing strategy: These dirt cups are perfect for make-ahead preparation. You can make the pudding and crush the Oreos the night before, then assemble everything in the morning. Or assemble them completely and refrigerate overnight. Just wait to add the tombstones until right before serving, or they’ll get too soft. I learned that one the hard way when my tombstones looked like sad, slumped-over ghosts by morning.
Variations & Adaptations
One of the best things about this recipe is how easy it is to customize. Here are some variations I’ve tried and loved.
Dairy-Free Version: Substitute the whole milk with oat milk or full-fat coconut milk. Use a dairy-free whipped topping like CocoWhip. The texture will be slightly different—coconut milk makes the pudding a bit richer—but it’s still delicious. I made this for a friend with lactose intolerance and she said it was the best Halloween treat she’d had in years.
Gluten-Free Option: Use gluten-free chocolate sandwich cookies (like Glutino or Kinnikinnick brands) instead of Oreos. The texture is a little different—they crush into finer crumbs—but the taste is nearly identical. Just be sure to check that your pudding mix is also gluten-free, as some brands contain wheat starch.
Peanut Butter Dirt Cups: Add a layer of peanut butter between the pudding and the dirt. Warm 1/4 cup peanut butter in the microwave for 15 seconds, then drizzle it over the pudding before adding the Oreo crumbs. The combination of chocolate and peanut butter is incredible. My husband requests this version every year.
Pumpkin Spice Dirt Cups: For a fall twist, substitute half the chocolate pudding with vanilla pudding and add 1 teaspoon pumpkin pie spice to the vanilla layer. Top with crushed graham crackers instead of Oreos for a “pumpkin patch” look. Add candy pumpkins and small pretzel sticks as “fence posts.”
Individual Trifle Version: Instead of cups, layer everything in a large glass trifle bowl for a party centerpiece. Double the recipe and arrange the tombstones and gummy worms on top. This is great for Halloween parties where you want a wow factor without individual servings.
Serving & Storage Suggestions
These spooky graveyard dirt cups are best served cold, straight from the refrigerator. The contrast between the chilled pudding and the crunchy Oreo “dirt” is part of the magic. I like to set them out on a platter just before guests arrive, with a few extra gummy worms scattered around for effect.
Presentation Tips: Arrange the cups on a black or orange platter for maximum spooky impact. You can add fake spiderwebs around the base or place a plastic spider on each cup. For a Halloween party, I’ve written guests’ names on the tombstones with the black writing gel, which doubles as place cards. It’s a small touch that gets a lot of attention.
Complementary Dishes: These dirt cups pair beautifully with other no-bake Halloween treats. Consider serving them alongside spider web dip with pretzels or mummy hot dogs for a full spooky spread. A warm apple cider or a pumpkin spice latte makes the perfect beverage pairing.
Storage Instructions: Store any leftover dirt cups in the refrigerator, tightly covered with plastic wrap or in an airtight container. They’ll keep for up to 3 days, though the cookies will continue to soften over time. The pudding and dirt layers will still taste great, but the tombstones will lose their crunch after about 24 hours. If you’re making these for a party, I recommend assembling them no more than 24 hours in advance and adding the tombstones just before serving.
Freezer Option: You can freeze the assembled dirt cups for up to 2 weeks. Wrap each cup tightly in plastic wrap, then place in a freezer bag. Thaw in the refrigerator overnight before serving. The texture of the pudding will be slightly different after freezing—a bit more icy—but it’s still tasty. I don’t recommend freezing the cups with the tombstones already in them, as the cookies will become soggy during thawing.
Flavor Development: Interestingly, the flavors actually meld together beautifully after a few hours in the fridge. The Oreo crumbs absorb a bit of moisture from the pudding, creating a texture that’s almost like a chocolate mousse with cookie bits throughout. If you have the patience, make these in the morning for an evening event. The wait is worth it.
Nutritional Information & Benefits
Let’s be honest—these are a treat, not a health food. But here’s the estimated nutritional breakdown for one dirt cup (based on the recipe making 8 servings):
| Nutrient | Amount Per Serving |
|---|---|
| Calories | 385 |
| Total Fat | 18g |
| Saturated Fat | 8g |
| Cholesterol | 12mg |
| Sodium | 420mg |
| Total Carbohydrates | 52g |
| Dietary Fiber | 2g |
| Sugars | 36g |
| Protein | 5g |
Health Benefits: Believe it or not, there are a few silver linings here. The milk provides calcium and vitamin D, which are important for bone health. The cocoa in the Oreos contains flavonoids, which are antioxidants that support heart health. And hey, the gummy worms are fat-free, so there’s that. All joking aside, this is a treat meant for special occasions, and I firmly believe that enjoying dessert without guilt is part of a balanced life.
Dietary Considerations: This recipe contains dairy, gluten, and soy (from the Oreos). For allergen-friendly versions, see the variations section above. The recipe is nut-free as written, which makes it a good option for school parties where nut allergies are a concern. Just double-check your specific brands to ensure no cross-contamination.
Conclusion
These Easy Spooky Graveyard Dirt Cups are proof that sometimes the best recipes come from complete kitchen chaos. What started as a failed pie attempt turned into the Halloween dessert my family now requests every single year. They’re quick, they’re fun, and they honestly taste like childhood in a cup. The creamy pudding, the crunchy Oreo “dirt,” the surprise gummy worms crawling out—it’s everything a Halloween treat should be.
I hope you make these and put your own spin on them. Maybe you’ll add extra candy, or use different cookies, or arrange the tombstones in a way that tells a story. That’s the beauty of this recipe—it’s a canvas for your creativity. I’d love to hear how yours turn out. Drop a comment below and tell me what spooky touches you added, or tag me in your photos on social media. Nothing makes me happier than seeing these dirt cups bring joy to other kitchens.
Happy Halloween, friends. May your pudding be creamy, your dirt be crunchy, and your gummy worms be plentiful. Now go make some magic in that kitchen of yours.
Frequently Asked Questions
Can I make these dirt cups the night before?
Absolutely! These are perfect for making ahead. Assemble the cups completely, but wait to add the tombstone cookies until just before serving. The cookies will soften if they sit in the pudding overnight. Everything else—the pudding, the dirt, the gummy worms—holds up beautifully for 24 hours in the fridge.
Can I use homemade pudding instead of instant?
You can, but the texture will be different. Homemade pudding is typically thinner and won’t set as firmly as instant pudding. If you go the homemade route, add an extra tablespoon of cornstarch to help it thicken, and refrigerate it for at least 2 hours before assembling the cups. Honestly, instant pudding works best here for both texture and convenience.
What can I use instead of Oreos for the dirt?
There are several options! Chocolate graham crackers, chocolate wafer cookies, or even crushed chocolate cereal like Cocoa Pebbles all work well. For a gluten-free version, use gluten-free chocolate sandwich cookies. The key is to crush them into a mix of fine crumbs and small chunks for that realistic dirt texture.
How do I keep the tombstones from getting soggy?
The best trick is to insert the tombstones just before serving. If you’re making the cups ahead, store the decorated cookies separately and add them at the last minute. You can also spread a thin layer of melted white chocolate on the bottom of each cookie before inserting it—this creates a barrier that slows down moisture absorption.
Can I use a different pudding flavor?
Of course! While chocolate is classic for “dirt,” vanilla pudding creates a fun “sand” look, and butterscotch or banana pudding adds a unique twist. For a really spooky effect, try lime or green apple pudding and tint it with extra green food coloring for a “slime” look. Just keep in mind that lighter-colored puddings will make the gummy worms more visible through the cup.
Pin This Recipe!
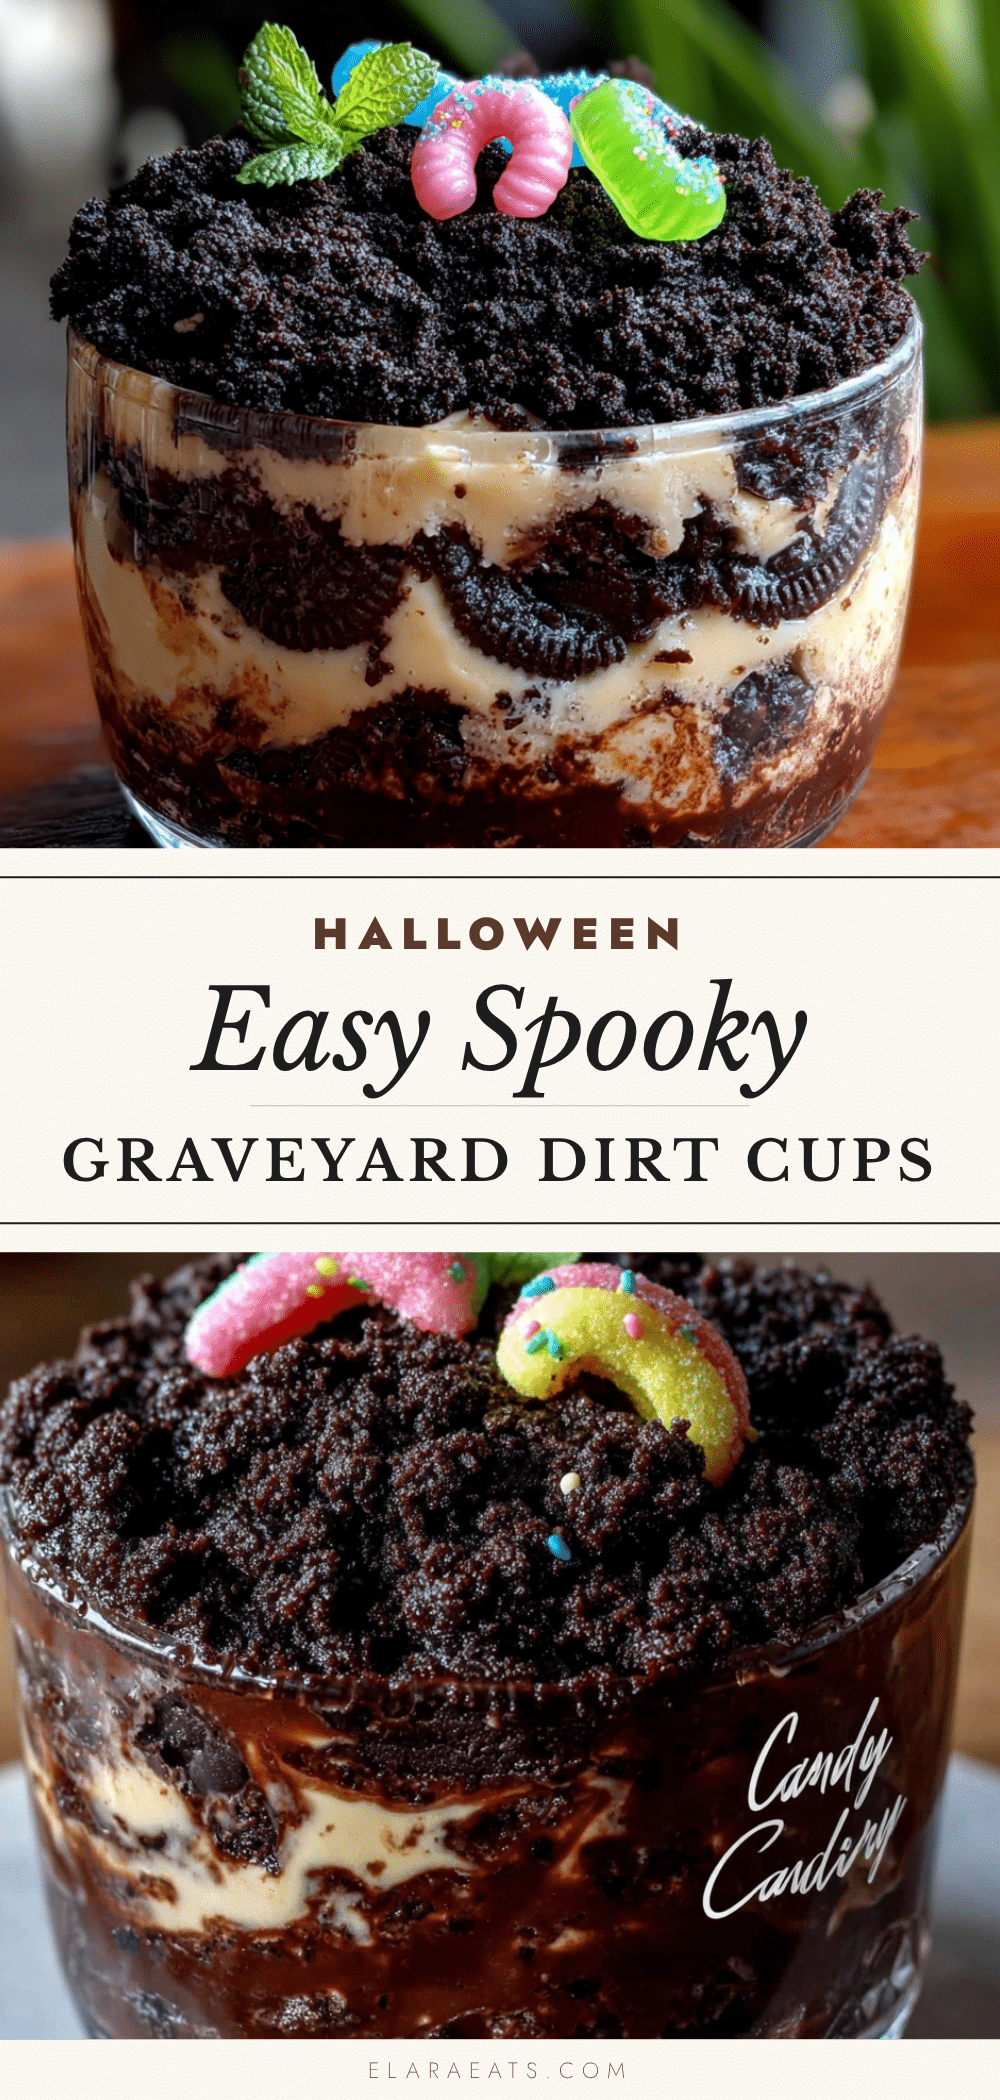
Easy Spooky Graveyard Dirt Cups: Best Halloween Dessert

These no-bake graveyard dirt cups are the ultimate Halloween treat, featuring creamy chocolate pudding, crunchy Oreo ‘dirt,’ and creepy gummy worms crawling out. Quick to assemble and perfect for parties, they’re a fun, kid-friendly dessert that tastes like childhood in a cup.
- Prep Time: 15 minutes
- Cook Time: 0 minutes
- Total Time: 45 minutes (includes chilling time)
- Yield: 8 servings 1x
- Category: Dessert
- Cuisine: American
Ingredients
- 1 (3.9 oz) box instant chocolate pudding mix
- 2 cups cold whole milk
- 1/2 teaspoon vanilla extract (optional)
- 1 (14.3 oz) package Oreo cookies
- 2 tablespoons unsalted butter, melted
- 1 cup gummy worms
- 12–15 Milano cookies or rectangular shortbread cookies
- Black writing gel or black frosting
- 1/2 cup candy pumpkins or candy corn (optional)
- Green or purple food coloring (optional)
- 1 (8 oz) container frozen whipped topping, thawed (optional)
- Green food coloring (for whipped topping, optional)
Instructions
- Make the pudding: In a medium mixing bowl, combine the instant chocolate pudding mix with 2 cups cold whole milk. Whisk vigorously for 2 minutes, or use an electric hand mixer on low speed for 1 minute. Add vanilla extract if using and whisk for another 30 seconds. Let the pudding sit for 5 minutes to fully set.
- Crush the Oreos: While the pudding sets, prepare the ‘dirt.’ Pulse Oreos in a food processor in short bursts until you have a mix of fine crumbs and small chunks. Alternatively, place Oreos in a large zip-top bag and crush with a rolling pin. Transfer crumbs to a bowl and drizzle with melted butter; toss with a fork until evenly distributed.
- Prepare the tombstones: Use black writing gel to write ‘RIP’ on each Milano cookie. Let the writing dry for about 5 minutes.
- Layer the cups: Spoon about 2 tablespoons of crushed Oreo ‘dirt’ into the bottom of each clear cup. Press down gently. Spoon chocolate pudding over the dirt, filling the cup halfway. If using whipped topping, spoon a layer of green-tinted Cool Whip over the pudding.
- Add the creepy details: Press a few gummy worms into the side of each cup so they’re visible through the clear plastic. Sprinkle another layer of Oreo crumbs over the top. Stick a tombstone cookie into the center of each cup, angled slightly. Add candy pumpkins around the base if desired.
- Chill and serve: Refrigerate the dirt cups for at least 30 minutes before serving. Serve cold. Best enjoyed within 24 hours.
Notes
For best results, use instant pudding mix (not cook-and-serve). Let the pudding rest for 5-7 minutes before layering to ensure distinct layers. Add tombstones just before serving to prevent sogginess. Make extra Oreo crumbs for topping. For dairy-free, use oat milk or full-fat coconut milk and dairy-free whipped topping. For gluten-free, use gluten-free chocolate sandwich cookies.
Nutrition
- Serving Size: 1 dirt cup
- Calories: 385
- Sugar: 36
- Sodium: 420
- Fat: 18
- Saturated Fat: 8
- Carbohydrates: 52
- Fiber: 2
- Protein: 5
Keywords: Halloween dessert, dirt cups, graveyard dirt cups, no-bake dessert, chocolate pudding, Oreo dirt, gummy worms, spooky treat, easy Halloween recipe


