Love this? Save it for later!
Share the inspiration with your friends
I wasn’t expecting to find the secret to the perfect Halloween cookie from my accountant, but there I was, stuck in a three-hour tax appointment, listening to him describe exactly how to make ghost meringues. He’d been a pastry chef in a past life—before spreadsheets and quarterly filings—and somewhere between Schedule C and depreciation, he started talking about how he used to make hundreds of these little ghosts for a bakery in Portland. “The trick,” he said, leaning back in his chair, “is to pipe them tall and let the peaks flop over naturally. That’s how they get that ghostly shape.” I scribbled his notes on the back of a receipt, and honestly, that recipe has saved me more times than any tax advice he ever gave. These Easy Ghost Meringue Cookies are the quick spooky treat you need when Halloween sneaks up on you—and let me tell you, it always does. Maybe you’ve been there, staring at a calendar on October 30th, realizing you promised to bring treats to the school party or the office potluck. These cookies take about 20 minutes of active work, and they look like you spent hours. My accountant’s ghost meringues have become my go-to, and every time I pipe those little wobbly ghosts, I think about how the best recipes come from the most unexpected places.
Why You’ll Love This Recipe
These ghost meringues aren’t just cute—they’re genuinely the easiest Halloween treat I’ve ever made. I’ve tested them for three Halloweens straight, and they work every single time. Here’s why you’ll want these in your back pocket:
- Quick & Easy: Active prep time is about 20 minutes. The oven does the rest of the work while you clean up or get the kids ready for trick-or-treating.
- Simple Ingredients: You probably have eggs and sugar in your kitchen right now. No special Halloween candy or hard-to-find decorations needed.
- Perfect for Last-Minute Plans: School parties, office gatherings, or surprise visitors—these come together fast and look impressive.
- Crowd-Pleaser: Kids absolutely lose their minds over these. Adults too, honestly. They’re light, not too sweet, and completely adorable.
- Unbelievably Delicious: That melt-in-your-mouth texture is pure magic. Crisp on the outside, airy on the inside, with a tiny bit of chewiness if you underbake them slightly.
What makes these different from every other ghost cookie recipe? It’s the technique my accountant taught me—piping the meringue tall and letting gravity do the work. No fancy piping skills required. No special nozzles. Just a steady hand and a little patience. These cookies have that soul-soothing satisfaction of something homemade, but they’re light enough that you don’t feel guilty eating three in a row. Perfect for busy parents, tired hosts, or anyone who wants Halloween magic without the stress.
What Ingredients You Will Need
This recipe uses simple, pantry-friendly ingredients to create something that looks way more complicated than it is. Most of these are things you probably already have, which is the whole point.
- Large egg whites, room temperature (3 large eggs) (room temperature egg whites whip up fluffier and hold more volume)
- Granulated sugar (¾ cup or 150g) (regular white sugar works best; don’t substitute powdered sugar here)
- Cream of tartar (¼ teaspoon) (stabilizes the egg whites and helps them hold their shape)
- Vanilla extract (½ teaspoon) (adds warmth and rounds out the sweetness)
- Mini chocolate chips (¼ cup or 45g) (for the ghost eyes—use dairy-free chips if needed)
- Pinch of salt (balances the sweetness and helps the meringue structure)
A few notes from my kitchen: I’ve tested this with both fresh eggs and carton egg whites, and fresh eggs give you a much more stable meringue. If you’re using carton whites, you’ll need to whip them a bit longer. I prefer using Nielsen-Massey vanilla extract because it’s pure and not overly sweet, but any good-quality vanilla works. For the chocolate chips, I like the mini ones from Ghirardelli because they’re small enough to stick to the meringue without falling off. If you’re making these for someone with a nut allergy, double-check your chocolate chip label—some brands process nuts in the same facility.
For a vegan version, you can try aquafaba (the liquid from a can of chickpeas) instead of egg whites. Use 3 tablespoons of aquafaba per egg white. It works, but the texture is slightly less crisp. For a sugar-free option, use a granulated monk fruit sweetener, though the meringues won’t be quite as stable.
Equipment Needed
You don’t need a fancy kitchen to make these ghost meringues. Here’s what you’ll need:
- Electric mixer (handheld or stand mixer—I’ve used both, and my old hand mixer works fine for this small batch)
- Large mixing bowl (glass or metal works best; plastic can hold grease residue that ruins meringue)
- Baking sheet (one standard half-sheet pan is plenty)
- Parchment paper (don’t skip this—meringues stick like crazy to bare pans)
- Piping bag (or a sturdy zip-top bag with the corner snipped off)
- Round piping tip (optional—I use a Wilton 1A, but you can pipe without one)
- Rubber spatula (for scraping every last bit of meringue into the bag)
- Cooling rack (for cooling the meringues completely)
If you don’t have a piping bag, don’t stress. A zip-top bag works perfectly—just fill it, snip a small corner, and pipe away. I’ve done it that way plenty of times when my piping bags ran out. Just make sure the corner isn’t too big, or your ghosts will come out looking more like blobs.
Preparation Method
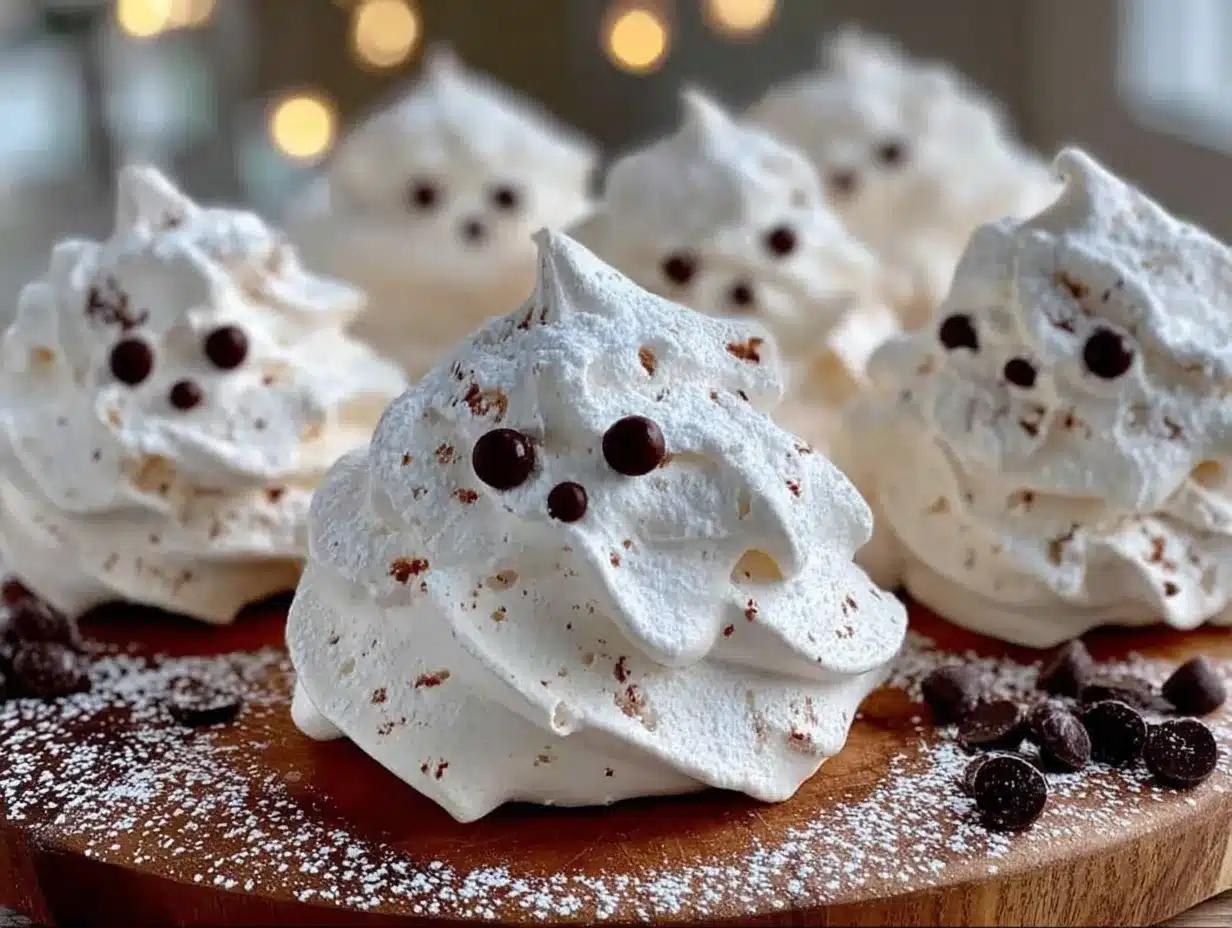
Let’s make some ghosts! This whole process takes about 20 minutes of active work, plus an hour or so in the oven. Here’s how it goes:
- Preheat your oven to 200°F (93°C). Line a baking sheet with parchment paper. The low temperature is key—we’re drying the meringues, not baking them. If your oven runs hot, drop it to 190°F.
- Separate your eggs while they’re cold. Cold eggs separate much cleaner than room-temperature ones. Crack each egg, let the white fall into a small bowl, and transfer each white to your mixing bowl one at a time. This way, if one yolk breaks, you haven’t ruined the whole batch. Let the whites sit on the counter for 15 minutes to come to room temperature.
- Add cream of tartar and salt to the egg whites. Start mixing on medium speed until the mixture becomes foamy and bubbly—about 1 minute. The cream of tartar helps stabilize everything, so don’t skip it.
- Gradually add the sugar. With the mixer running, add the sugar one tablespoon at a time. I know it feels tedious, but adding it slowly helps it dissolve completely. Keep mixing on medium-high speed for about 5 to 7 minutes. You’re looking for stiff, glossy peaks—the meringue should hold its shape when you lift the beater. Rub a little between your fingers; if it feels gritty, keep mixing. It should feel smooth.
- Add the vanilla extract. Mix on low speed just until combined—about 10 seconds. Don’t overmix at this stage, or you’ll deflate all that beautiful air you just whipped in.
- Transfer the meringue to your piping bag. If you’re using a zip-top bag, stand it up in a tall glass and fold the edges over the rim. This makes filling it so much easier. Fill the bag about halfway—don’t overfill, or it’ll be hard to control.
- Pipe the ghosts. Hold the bag straight up and down, about ½ inch above the parchment. Squeeze gently until the meringue spreads into a round base about 1½ inches wide. Then, keeping steady pressure, lift the bag straight up about 2 inches, then stop squeezing and pull away. The peak should flop over slightly—that’s your ghost! If it stands straight up, gently tip the peak with your finger. Space them about 1 inch apart; they don’t spread much.
- Add the eyes. Gently press two mini chocolate chips into each ghost for eyes. Don’t push too hard, or you’ll crack the meringue. Just nestle them in gently. I like to place the eyes a bit asymmetrical for a goofier ghost look.
- Bake for 60 to 75 minutes. The meringues are done when they’re dry to the touch and easily peel off the parchment. They should be crisp on the outside but still slightly soft in the center. If they crack or brown, your oven is too hot. Turn off the oven and let them cool inside for another 30 minutes with the door cracked open. This helps prevent cracking from sudden temperature changes.
- Cool completely on a wire rack. Don’t try to eat them straight from the oven—they need to cool completely to develop that perfect texture. About 20 minutes should do it.
A few sensory cues: The meringue should look like marshmallow fluff—glossy, white, and pillowy. When you pipe it, you’ll feel the resistance in the bag; if it’s too stiff, your meringue might be overmixed. If it’s runny, it needs more mixing. The ghosts should look like little clouds with personality. And when they come out of the oven, they should smell faintly sweet and vanilla-y, like a bakery.
Cooking Tips & Techniques
I’ve made these ghost meringues probably twenty times now, and I’ve learned a few things the hard way. Here are my best tips:
Don’t rush the sugar. The first time I made these, I dumped all the sugar in at once because I was in a hurry. The meringue never got stiff, and my ghosts looked like sad, flat pancakes. Adding sugar slowly gives it time to dissolve, which creates that stable, glossy structure. Trust me on this one.
Check your bowl for grease. Meringue is finicky about fat. If your bowl has even a tiny bit of residue from butter or oil, your egg whites won’t whip up properly. Wash your bowl and beaters with hot, soapy water, then dry them thoroughly. I once grabbed a bowl that looked clean but had been used for mayonnaise earlier—disaster.
Humidity is your enemy. Meringues hate humid days. If you’re making these on a rainy October afternoon, they might take longer to dry out and could end up chewy instead of crisp. Try to make them on a dry day, or run a dehumidifier in your kitchen if you have one. I learned this the hard way during a freak thunderstorm on Halloween.
Multitask like a pro. While the meringues are baking, you can clean up your kitchen, set up your candy bowl for trick-or-treaters, or even start another batch. The low oven temperature means they’re not going to burn if you forget about them for a few extra minutes. Just don’t open the oven door too often—temperature fluctuations can cause cracking.
Practice your piping on parchment first. Before you commit to the actual baking sheet, pipe a few test ghosts on a scrap piece of parchment. This lets you get a feel for the pressure and height without wasting meringue. You can scrape the test ones back into the bag and reuse them.
Variations & Adaptations
One of the best things about these ghost meringues is how easy they are to customize. Here are some variations I’ve tried:
Spooky Season Ghosts: Add a drop of orange or purple food coloring to the meringue before piping. Swirl it in gently with a knife for a marbled effect. They look like tie-dye ghosts, and kids go crazy for them.
Chocolate Ghosts: Replace 2 tablespoons of the granulated sugar with unsweetened cocoa powder. Sift the cocoa powder with the sugar before adding it to the egg whites. The ghosts turn a pale brown, and they taste like chocolate meringue—dangerously good.
Vegan Ghosts: Use aquafaba (the liquid from a can of chickpeas) instead of egg whites. Use 9 tablespoons of aquafaba (about ½ cup plus 1 tablespoon) and whip it with ¼ teaspoon cream of tartar. It takes a bit longer to whip up, but it works surprisingly well. The texture is slightly less crisp, but the flavor is neutral.
Gluten-Free: These are naturally gluten-free since they’re made with just egg whites and sugar. Just make sure your vanilla extract and chocolate chips are certified gluten-free if you’re serving someone with celiac disease.
Mini Ghosts: Pipe smaller ghosts about 1 inch tall for bite-sized treats. They’ll bake faster—check them at 45 minutes. Perfect for little hands.
Spiced Ghosts: Add ½ teaspoon of pumpkin pie spice or cinnamon to the sugar before whipping. It gives them a warm, fall flavor that’s perfect for Halloween parties. I tried this last year, and they were gone before the mummies and vampires arrived.
Serving & Storage Suggestions
These ghost meringues are best served at room temperature, straight from the cooling rack. They’re light and airy, so they pair beautifully with a warm drink like hot chocolate, apple cider, or coffee. For a Halloween party, arrange them on a platter with some fake cobwebs and plastic spiders for a spooky display. They also look adorable stacked in a clear jar with a ribbon tied around it—perfect for a hostess gift.
For storage, keep them in an airtight container at room temperature for up to 5 days. Don’t refrigerate them—the moisture in the fridge will make them sticky and soft. If you need to keep them longer, you can freeze them for up to 2 months. Place them in a single layer in a freezer-safe container with parchment between layers. Thaw at room temperature for about 30 minutes before serving. They won’t be quite as crisp as fresh ones, but they’re still delicious.
A note on texture: These meringues are best within the first 2 days. After that, they start to absorb moisture from the air and get slightly chewy. They’re still good, just different. If you want to refresh them, pop them in a 200°F oven for 10 minutes to re-crisp them.
Nutritional Information & Benefits
Here’s the approximate nutritional breakdown per ghost meringue (based on making 24 cookies):
- Calories: 35
- Total Fat: 0.5g
- Carbohydrates: 7g
- Sugar: 7g
- Protein: 1g
- Sodium: 15mg
These are a relatively low-calorie treat compared to most Halloween cookies. The egg whites provide a small amount of protein, and there’s no butter or oil involved. They’re naturally gluten-free and can be made vegan with aquafaba. The main ingredient to watch is sugar, but since each ghost is small, it’s easy to keep portions reasonable. For a lower-sugar option, use a monk fruit sweetener blend, though the texture will be slightly different. These are also dairy-free as written, as long as you use dairy-free chocolate chips.
From a wellness perspective, I love that these feel indulgent without being heavy. They satisfy that sweet craving without leaving you feeling sluggish. Plus, the process of making them—whipping the meringue, piping the ghosts—is oddly meditative. It’s a nice way to slow down during the chaos of Halloween prep.
Conclusion
These Easy Ghost Meringue Cookies have become my secret weapon for Halloween. They’re quick, they’re cute, and they always get the biggest reaction from kids and adults alike. The best part? They’re forgiving. If your ghosts look a little lopsided or goofy, that’s part of the charm. Perfect ghosts are boring—give me the wonky ones with the crooked eyes every time.
I love that this recipe came from such an unexpected place—a tax appointment, of all things. It reminds me that good ideas show up when you least expect them. So go ahead, give these a try. Pipe them tall, let the peaks flop, and don’t stress about perfection. Halloween is supposed to be a little spooky, not stressful.
I’d love to hear how your ghosts turn out! Drop a comment below and tell me about your funniest piping mishap or your favorite Halloween memory. And if you come up with a wild variation—purple ghosts, maybe?—share that too. Happy Halloween, and happy baking!
Frequently Asked Questions
Can I make these ghost meringues ahead of time?
Absolutely! These are perfect for making a day or two ahead. Store them in an airtight container at room temperature for up to 5 days. Just keep them away from humidity, and they’ll stay crisp.
Why did my meringue turn out flat?
Flat meringue usually means the egg whites weren’t whipped enough, or the bowl had grease residue. Make sure your bowl and beaters are completely clean, and whip until you see stiff, glossy peaks that hold their shape.
Can I use liquid egg whites from a carton?
You can, but fresh egg whites give you a much more stable meringue. If you use carton whites, whip them a bit longer and add an extra ¼ teaspoon of cream of tartar for stability.
How do I know when the meringues are done baking?
They’re done when they’re dry to the touch and peel easily off the parchment. They should be crisp on the outside but still slightly soft in the center. If they crack or turn brown, your oven is too hot.
Can I freeze these ghost meringues?
Yes! Freeze them in a single layer in an airtight container for up to 2 months. Thaw at room temperature for 30 minutes before serving. They won’t be quite as crisp, but they’re still delicious.
Pin This Recipe!
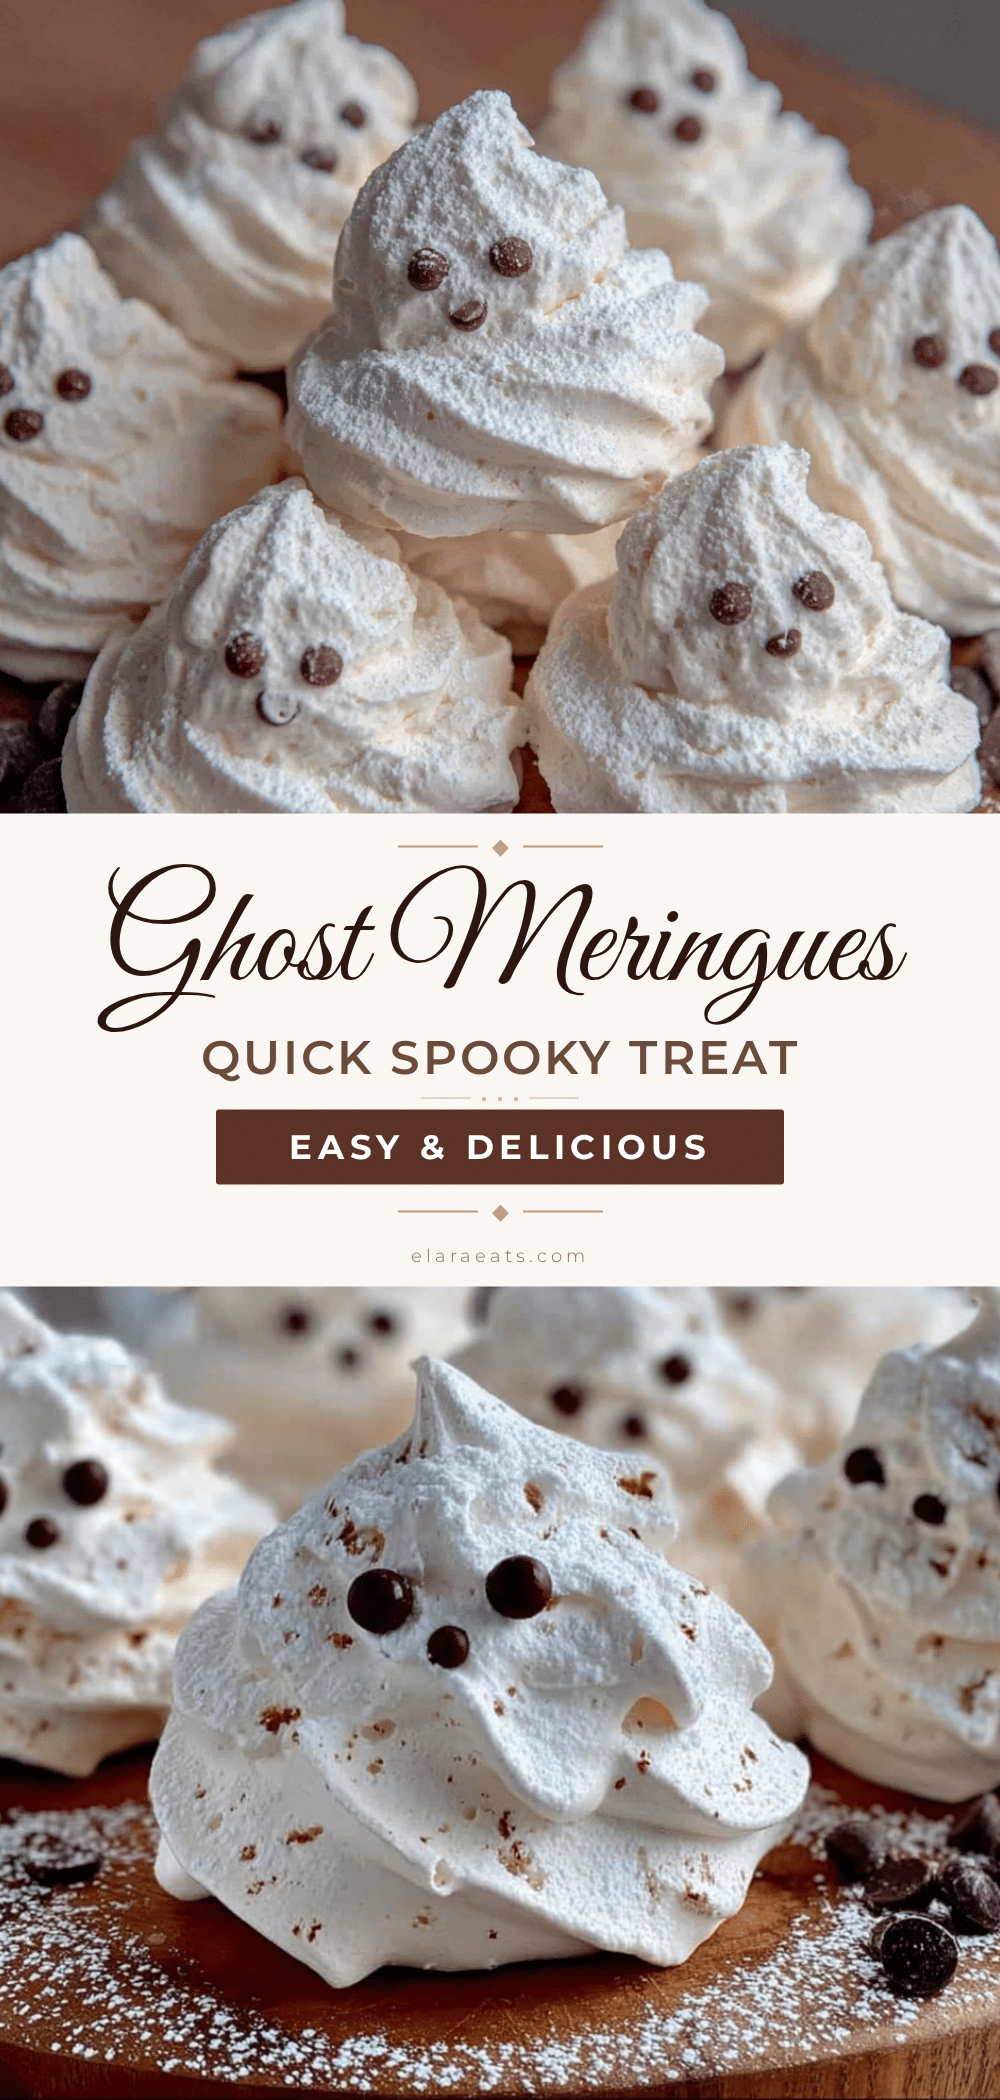
Easy Ghost Meringue Cookies: Best 20-Minute Spooky Treat

These Easy Ghost Meringue Cookies are the quick spooky treat you need when Halloween sneaks up on you. They take about 20 minutes of active work and look like you spent hours, with a melt-in-your-mouth texture that’s crisp on the outside and airy on the inside.
- Prep Time: 20 minutes
- Cook Time: 60-75 minutes
- Total Time: 1 hour 35 minutes to 1 hour 50 minutes
- Yield: 24 servings 1x
- Category: Dessert
- Cuisine: American
Ingredients
- 3 large egg whites, room temperature
- ¾ cup (150g) granulated sugar
- ¼ teaspoon cream of tartar
- ½ teaspoon vanilla extract
- ¼ cup (45g) mini chocolate chips
- Pinch of salt
Instructions
- Preheat your oven to 200°F (93°C). Line a baking sheet with parchment paper.
- Separate your eggs while they’re cold. Let the whites sit on the counter for 15 minutes to come to room temperature.
- Add cream of tartar and salt to the egg whites. Start mixing on medium speed until foamy and bubbly—about 1 minute.
- Gradually add the sugar one tablespoon at a time with the mixer running on medium-high speed. Mix for 5 to 7 minutes until stiff, glossy peaks form and the mixture feels smooth between your fingers.
- Add the vanilla extract and mix on low speed just until combined—about 10 seconds.
- Transfer the meringue to a piping bag (or a sturdy zip-top bag with the corner snipped off). Fill the bag about halfway.
- Pipe the ghosts: Hold the bag straight up and down, about ½ inch above the parchment. Squeeze gently until the meringue spreads into a round base about 1½ inches wide. Lift the bag straight up about 2 inches, then stop squeezing and pull away. The peak should flop over slightly. Space them about 1 inch apart.
- Gently press two mini chocolate chips into each ghost for eyes, placing them slightly asymmetrical for a goofier look.
- Bake for 60 to 75 minutes, until dry to the touch and easily peel off the parchment. Turn off the oven and let them cool inside for another 30 minutes with the door cracked open.
- Cool completely on a wire rack for about 20 minutes before serving.
Notes
Don’t rush the sugar—add it slowly for stable meringue. Ensure bowl and beaters are completely grease-free. Avoid making meringues on humid days. Practice piping on parchment first. For vegan version, use 9 tablespoons aquafaba instead of egg whites. Store in an airtight container at room temperature for up to 5 days; freeze for up to 2 months.
Nutrition
- Serving Size: 1 ghost meringue
- Calories: 35
- Sugar: 7
- Sodium: 15
- Fat: 0.5
- Carbohydrates: 7
- Protein: 1
Keywords: ghost meringue cookies, Halloween cookies, easy Halloween treat, meringue cookies, spooky cookies, quick dessert, gluten-free cookies, dairy-free cookies


